Sc 2, Dec, Sc 2, Dec 3, Sc 4, Dec 3, Sc 2, Dec, Sc 2
(16)
7
Sc around
(16)
8
(Sc 2, Dec) x 4
(12)
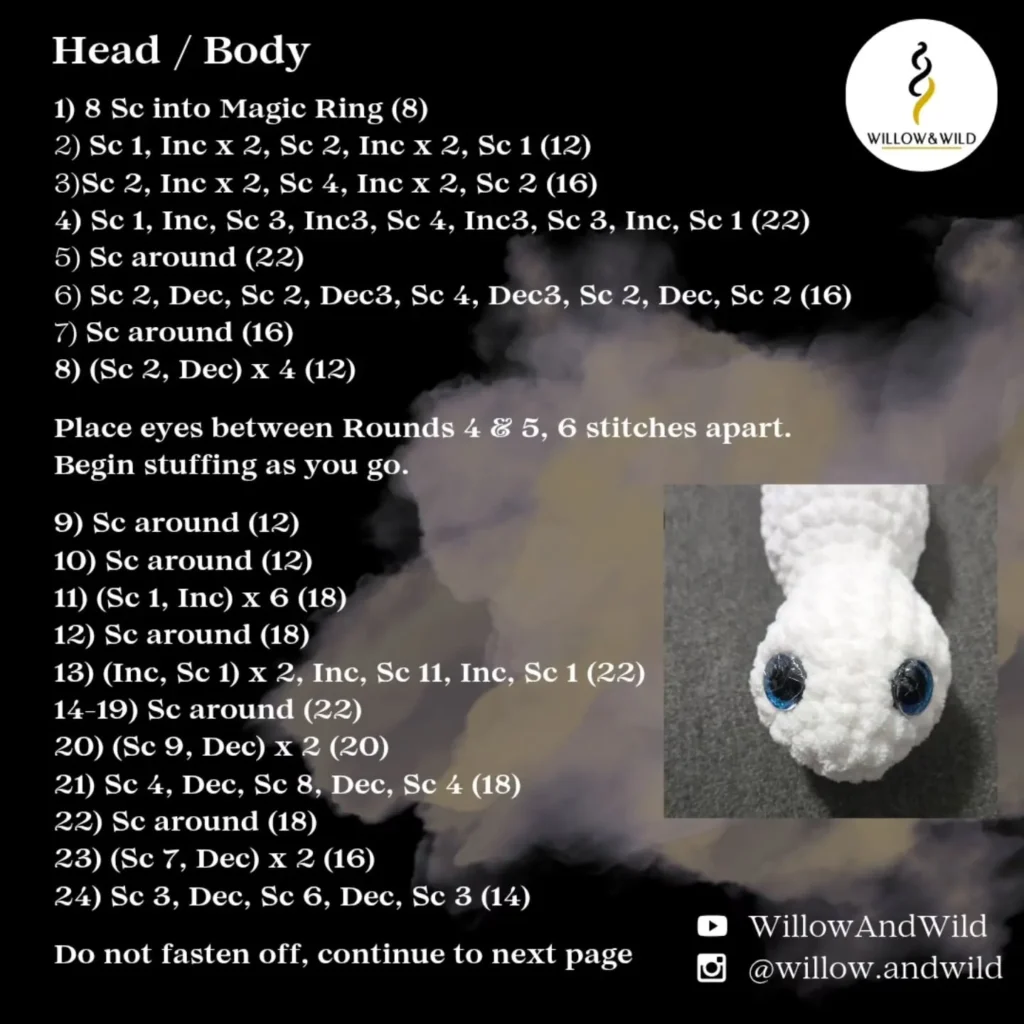
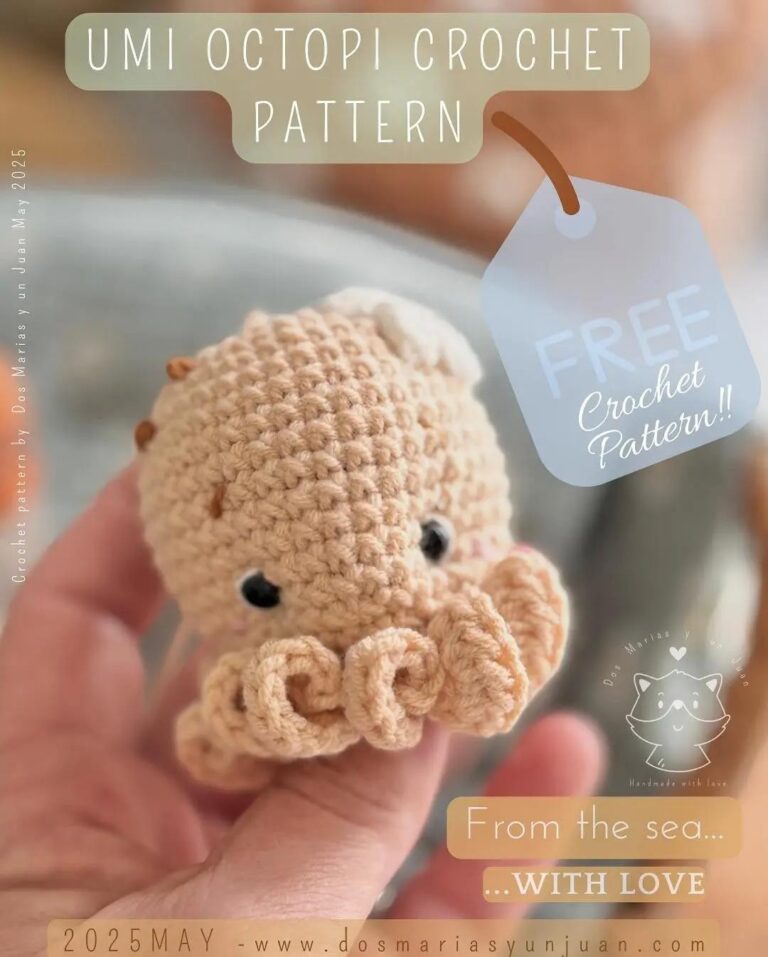
Place eyes between Rounds 4 & 5, 6 stitches apart.
Begin stuffing as you go.
9
Sc around
(12)
10
Sc around
(12)
11
(Sc 1, Inc) x 6
(18)
12
Sc around
(18)
13
(Inc, Sc 1) x 2, Inc, Sc 11, Inc, Sc 1
(22)
14-19
Sc around (6 rounds)
(22)
20
(Sc 9, Dec) x 2
(20)
21
Sc 4, Dec, Sc 8, Dec, Sc 4
(18)
22
Sc around
(18)
23
(Sc 7, Dec) x 2
(16)
24
Sc 3, Dec, Sc 6, Dec, Sc 3
(14)
Do not fasten off, continue to next section.
II. Appendages and Details
A. Ears (Make 4)
Round
Pattern
Stitches (St)
1
Sc 5 in Magic Ring
(5)
2
Sc 1, Inc x 3, Sc 1
(8)
3
Sc around
(8)
4
Sc 1, Dec x 3, Sc 1
(5)
5
Dec, Sc 3
(4)
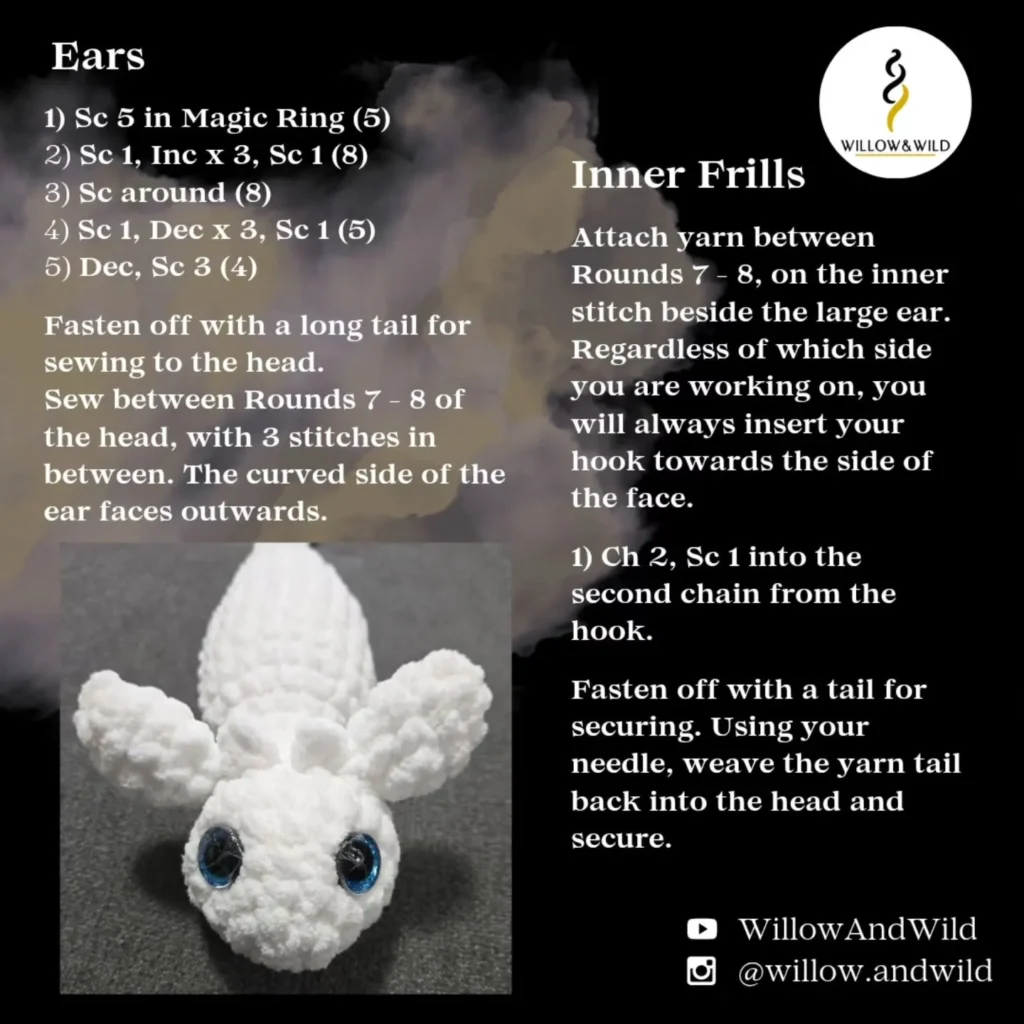
Fasten off with a long tail for sewing to the head.
Sew between Rounds 7 – 8 of the head, with 3 stitches in between. The curved side of the ear faces outwards.
B. Inner Frills (Attach Yarn)
Attach yarn between Rounds 7 – 8, on the inner stitch beside the large ear.
Regardless of which side you are working on, you will always insert your hook towards the side of the face.
Ch 2, Sc 1 into the second chain from the hook.
Fasten off with a tail for securing. Using your needle, weave the yarn tail back into the head and secure.
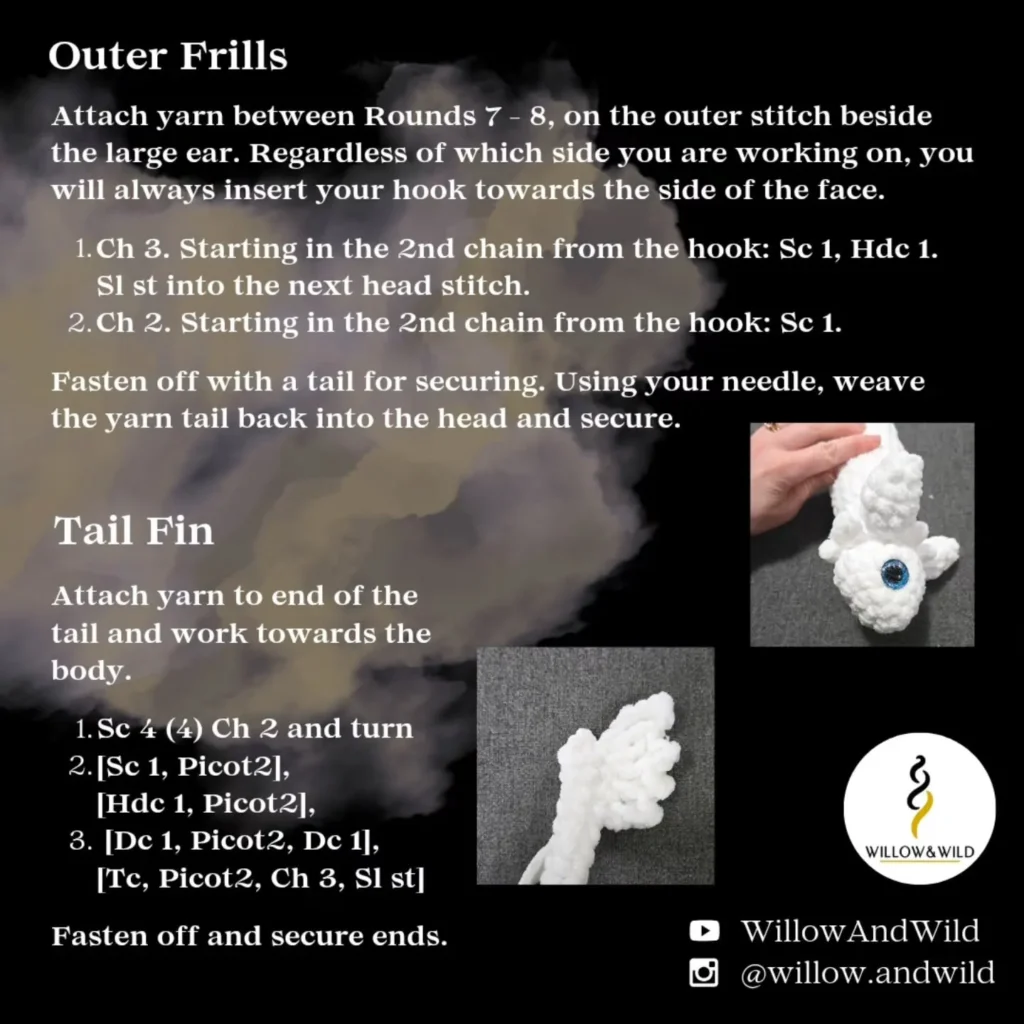
C. Outer Frills (Attach Yarn)
Attach yarn between Rounds 7 – 8, on the outer stitch beside the large ear.
Regardless of which side you are working on, you will always insert your hook towards the side of the face.
Ch 3. Starting in the 2nd chain from the hook: Sc 1, Hdc 1. Sl st into the next head stitch.
Ch 2. Starting in the 2nd chain from the hook: Sc 1.
Fasten off with a tail for securing. Using your needle, weave the yarn tail back into the head and secure.
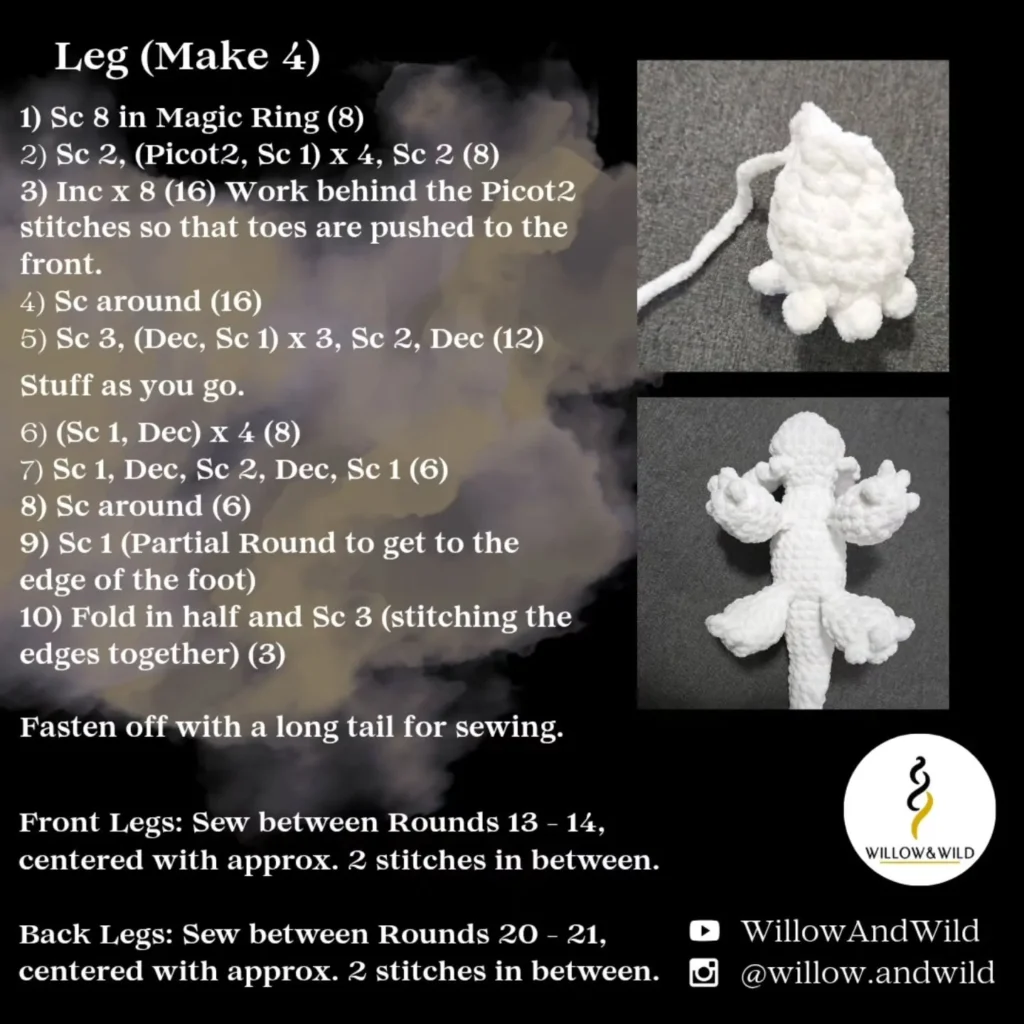
D. Leg (Make 4)
Round
Pattern
Stitches (St)
1
Sc 8 in Magic Ring
(8)
2
Sc 2, (Picot 2, Sc 1) x 4, Sc 2
(8)
3
Inc x 8
(16)
Work behind the Picot 2 stitches so that toes are pushed to the front.
4
Sc around
(16)
5
Sc 3, (Dec, Sc 1) x 3, Sc 2, Dec
(12)
Stuff as you go.
6
(Sc 1, Dec) x 4
(8)
7
Sc 1, Dec, Sc 2, Dec, Sc 1
(6)
8
Sc around
(6)
9
Sc 1 (Partial Round to get to the edge of the foot)
10
Fold in half and Sc 3 (stitching the edges together)
(3)
Fasten off with a long tail for sewing.
Leg Placement:
Front Legs: Sew between Rounds 13 – 14, centered with approx. 2 stitches in between.
Back Legs: Sew between Rounds 20 – 21, centered with approx. 2 stitches in between.
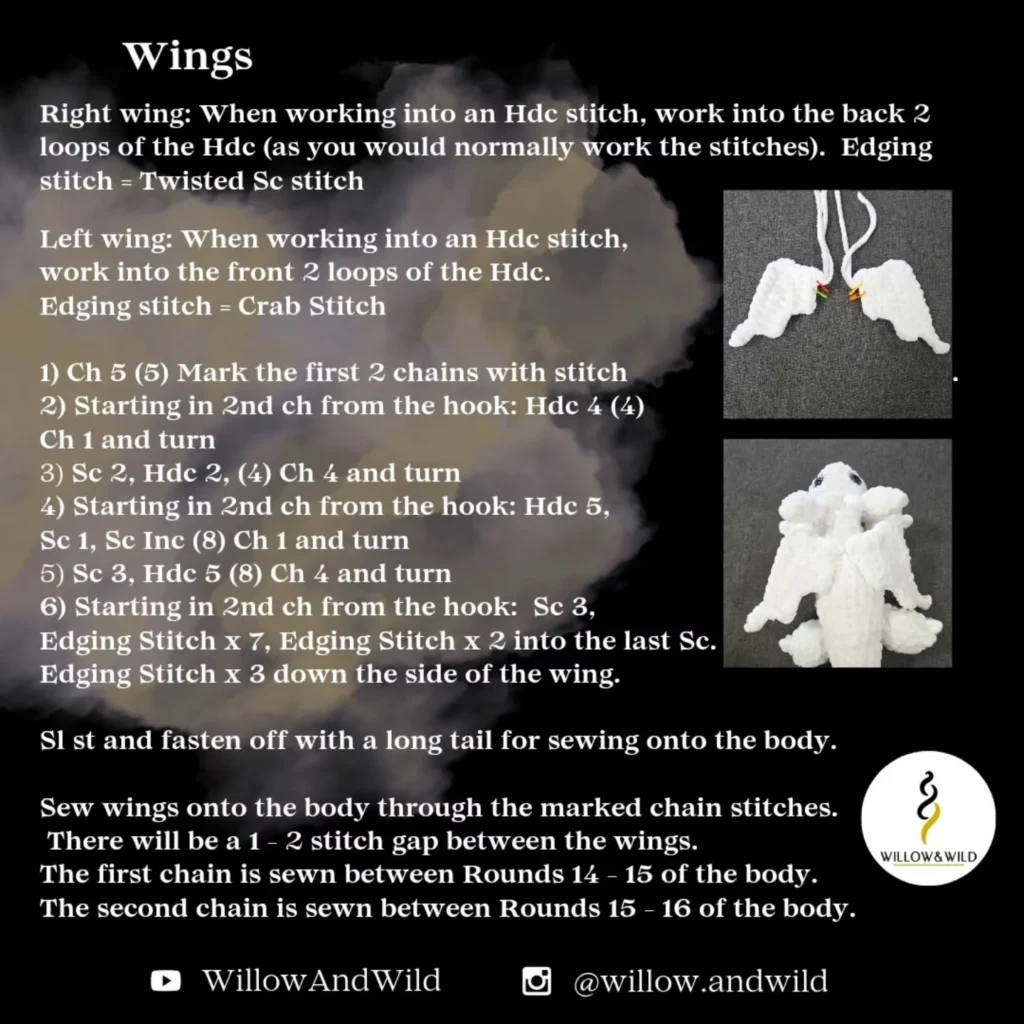
E. Wings
(Detailed instructions for left and right wing provided, pay attention to the Hdc loop instructions.)
Right Wing: When working into an Hdc stitch, work into the back 2 loops of the Hdc (as you would normally work the stitches). Edging Stitch = Twisted Sc stitch.
Left Wing: When working into an Hdc stitch, work into the front 2 loops of the Hdc. Edging Stitch = Crab Stitch.
Row
Pattern
Stitches (St)
1
Ch 5. Mark the first 2 chains with stitch.
(5)
2
Starting in 2nd ch from the hook: Hdc 4
(4)
3
Ch 1 and turn. Sc 2, Hdc 2, (Ch 4 and turn)
4
Starting in 2nd ch from the hook: Hdc 5, Sc 1, Sc Inc
(8)
5
Ch 1 and turn. Hdc 8 (Ch 4 and turn)
(8)
6
Starting in 2nd ch from the hook: Sc 3. Edging Stitch x 7, Edging Stitch x 2 into the last Sc. Edging Stitch x 3 down the side of the wing.
Sl st and fasten off with a long tail for sewing onto the body.
Wing Placement:
Sew wings onto the body through the marked chain stitches.
There will be a 1 – 2 stitch gap between the wings.
The first chain is sewn between Rounds 14 – 15 of the body.
The second chain is sewn between Rounds 15 – 16 of the body.
F. Tail Fin
Attach yarn to end of the tail and work towards the body.